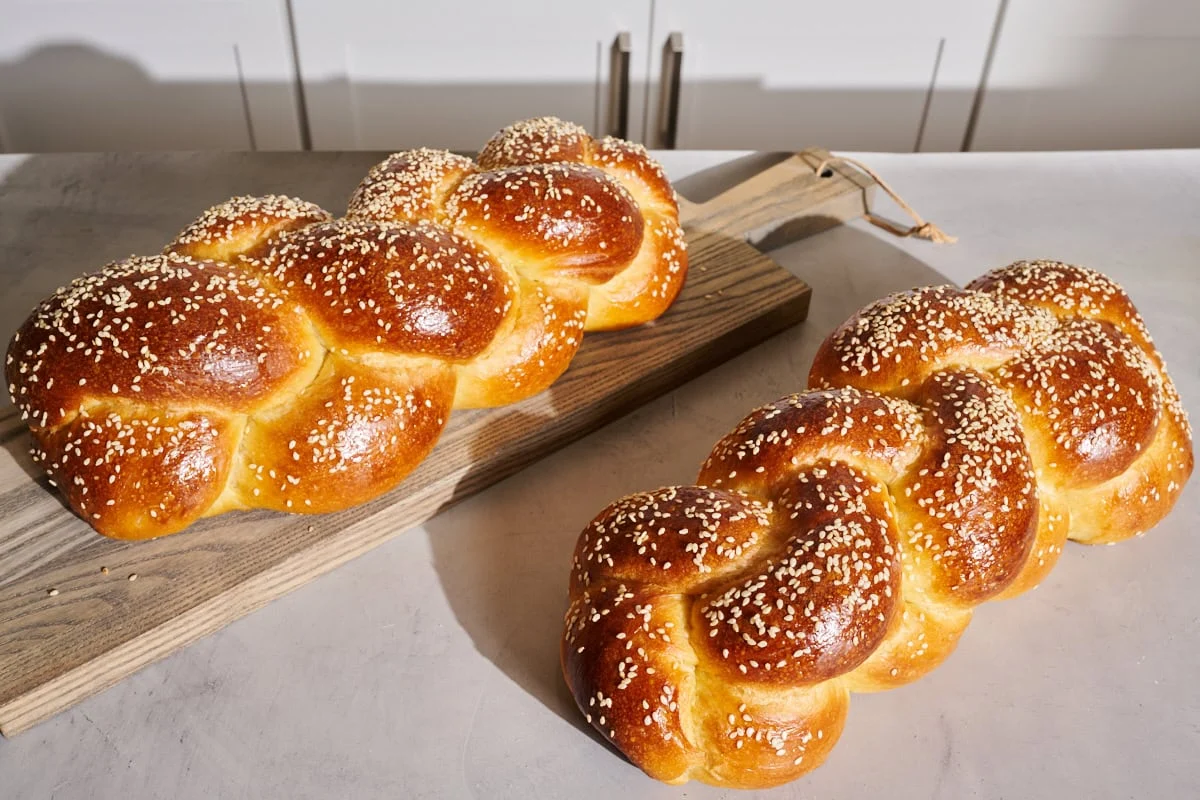
If you’re searching for an easy sourdough discard recipe, a classic butter cookie recipe, or a simple homemade treat made with pantry staples, these Golden Sourdough Butter Cookies are exactly what you need. Made with just four everyday ingredients, these cookies deliver rich buttery flavor, delicate sweetness, and a perfectly tender texture that melts in your mouth.
One of the biggest challenges for sourdough bakers is finding creative ways to use leftover sourdough discard instead of throwing it away. Fortunately, these cookies transform that extra starter into a delightful dessert that tastes far more sophisticated than its simple ingredient list suggests.
The result is a batch of buttery cookies with crisp edges, tender centers, and a subtle depth of flavor that makes them stand out from traditional butter cookies. Best of all, they are beginner-friendly, budget-friendly, and require very little preparation time.
Whether you’re making an afternoon snack, preparing a holiday cookie platter, or looking for a creative sourdough baking project, this recipe deserves a permanent place in your baking collection.
Why These Sourdough Butter Cookies Are Worth Making
Homemade cookies don’t need complicated ingredients or lengthy preparation to taste amazing. Sometimes the simplest recipes create the most memorable results.
These cookies offer:
- Only four basic ingredients
- Excellent use of sourdough discard
- Rich buttery flavor
- Crisp edges with soft centers
- Easy preparation
- Beginner-friendly method
- Great make-ahead dessert
- Perfect holiday cookie option
- Freezer-friendly dough
- No special baking skills required
The combination of butter, sugar, flour, and sourdough starter creates a cookie that feels elegant despite its simplicity.
What Makes Sourdough Discard Special?
Many home bakers feed their sourdough starter regularly and remove a portion during maintenance. This removed portion is known as sourdough discard.
While some people throw it away, discard is actually a fantastic baking ingredient.
When used in cookies, sourdough discard:
- Adds subtle flavor complexity
- Helps reduce food waste
- Contributes moisture
- Improves texture
- Creates a tender crumb
Unlike sourdough bread, where fermentation is responsible for the rise, cookies use discard mainly for flavor enhancement and texture improvement.
The best part is that the cookies do not taste strongly sour. Instead, they develop a slight richness that balances beautifully with the butter and sugar.
The Secret Behind Their Rich Buttery Flavor
Butter is the star ingredient in this recipe.
When properly creamed with sugar, butter creates air pockets that contribute to a light and delicate texture. During baking, the butter melts and spreads throughout the dough, creating crisp edges and a tender interior.
Using quality unsalted butter allows complete control over the final flavor while delivering the classic buttery taste that makes these cookies irresistible.
The butter also helps create:
- Golden color
- Delicate crumb
- Rich flavor
- Tender texture
- Light crispness
This is why these cookies feel luxurious despite their minimal ingredient list.
Understanding the Four Main Ingredients
Unsalted Butter
Softened butter creates the foundation of the dough. It provides richness, structure, and the signature melt-in-your-mouth texture.
Sourdough Discard
The secret ingredient that adds depth without overwhelming the cookie’s buttery flavor.
Granulated Sugar
Provides sweetness while helping create the slightly crisp exterior.
All-Purpose Flour
Gives the cookies structure while maintaining a tender bite.
Together, these ingredients create a perfectly balanced cookie that feels both classic and unique.
Why Beginners Love This Recipe
Many baking recipes require complicated techniques, multiple mixing stages, and specialty ingredients.
These cookies are different.
The method is straightforward:
- Cream butter and sugar.
- Add sourdough discard.
- Mix in flour.
- Chill.
- Shape.
- Bake.
Even someone completely new to baking can achieve excellent results.
The Importance of Creaming Butter and Sugar
One of the most important steps in cookie making is properly creaming the butter and sugar.
During this process:
- Air is incorporated into the mixture.
- The sugar begins dissolving.
- The texture becomes lighter.
- The finished cookies bake more evenly.
The mixture should appear pale, fluffy, and smooth before moving to the next step.
Skipping this stage or rushing through it may produce denser cookies.
Why Chilling the Dough Matters
While it may be tempting to bake immediately, chilling the dough provides several benefits.
Cold dough:
- Is easier to handle
- Prevents excessive spreading
- Produces thicker cookies
- Improves flavor
- Enhances texture
A short 30-minute chill can make a significant difference in the final result.
If you have extra time, an overnight chill develops even deeper flavor.
The Texture You’ll Love
One reason these cookies are so popular is their balance of textures.
The finished cookies feature:
Crisp Outer Edges
The sugar caramelizes slightly around the edges, creating a delicate crunch.
Tender Interior
The butter and sourdough discard keep the centers soft and delicate.
Fine Crumb
The cookies break cleanly without becoming dry or crumbly.
Light Sweetness
They are sweet enough to satisfy cravings without becoming overwhelming.
This combination makes them ideal for both everyday snacking and special occasions.
Optional Flavor Enhancements
Although the basic four-ingredient version is excellent, small additions can create entirely new flavor experiences.
Vanilla Butter Cookies
Add vanilla extract for a classic bakery-style flavor.
Lemon Butter Cookies
Fresh lemon zest adds brightness and freshness.
Orange Butter Cookies
Orange zest pairs beautifully with the buttery dough.
Cinnamon Cookies
A touch of cinnamon creates warmth and depth.
Chocolate Chip Version
Mini chocolate chips add sweetness and texture.
Celebration Cookies
Colorful sprinkles transform them into festive treats.
These simple variations allow you to create multiple cookie styles from a single recipe.
Long Fermentation Option for Extra Flavor
Sourdough enthusiasts often appreciate deeper fermentation.
For a richer cookie:
- Prepare the dough.
- Cover tightly.
- Refrigerate for 12–24 hours.
This extended resting period develops more flavor while maintaining the cookie’s buttery character.
Many bakers find this method produces a more complex and satisfying result.
Perfect Occasions for These Cookies
These versatile cookies fit nearly any occasion.
Afternoon Tea
A perfect companion for tea or coffee.
Holiday Cookie Boxes
Easy to package and gift.
School Lunches
Simple and portable.
Family Gatherings
A crowd-pleasing dessert.
Weekend Baking Projects
Quick enough for spontaneous baking sessions.
Homemade Gifts
Wrapped in decorative packaging, they make thoughtful edible gifts.
Decorating Ideas
These cookies are beautiful on their own, but they can also be dressed up for special events.
Try:
- Dipping in melted chocolate
- Drizzling with vanilla icing
- Dusting with powdered sugar
- Rolling in decorative sugar
- Sandwiching with jam
- Adding colorful sprinkles
These simple additions transform everyday cookies into elegant desserts.
Storage Tips
Proper storage helps maintain freshness and texture.
Room Temperature
Store in an airtight container for up to one week.
Refrigerator
Not necessary, but possible if your kitchen is warm.
Freezer
Freeze baked cookies for up to three months.
Allow them to thaw at room temperature before serving.
Freezing Cookie Dough
Cookie dough freezes beautifully.
Simply:
- Shape dough into balls.
- Freeze on a tray.
- Transfer to freezer bags.
When ready to bake, place frozen dough directly onto baking sheets and add one or two extra minutes to the baking time.
This method provides fresh cookies whenever cravings strike.
Common Baking Mistakes to Avoid
Using Cold Butter
Cold butter does not cream properly and may affect texture.
Adding Too Much Flour
Excess flour creates dry cookies.
Skipping Dough Chilling
Warm dough spreads too much during baking.
Overmixing
Too much mixing can produce tougher cookies.
Overbaking
Remove cookies once the edges become lightly golden.
The cookies continue setting while cooling.
Frequently Asked Questions
Can I Use Active Starter?
Yes. Both active starter and discard work well.
Will These Cookies Taste Sour?
No. The sourdough flavor is very mild and balanced.
Can I Double the Recipe?
Absolutely. This recipe scales easily for larger batches.
Can I Use Salted Butter?
Yes. Simply reduce any additional salt if included.
Can I Make Them Ahead?
Yes. The dough can be refrigerated or frozen until needed.
Why This Recipe Works So Well
Every ingredient has a specific role:
- Butter creates richness.
- Sugar adds sweetness.
- Flour provides structure.
- Sourdough discard contributes flavor and tenderness.
Together they produce cookies that feel classic, comforting, and unique.
The beauty of this recipe lies in its simplicity. With only four ingredients, it proves that incredible homemade cookies do not require complicated methods or expensive ingredients.
If you’re looking for one of the best sourdough discard cookie recipes, these buttery homemade cookies are guaranteed to become a favorite. They are simple enough for beginners, impressive enough for guests, and delicious enough to bake again and again.
Recipe Yield: About 24 Cookies
Prep Time: 10 Minutes
Chill TimSimple Sourdough Butter Cookies Recipee: 30 Minutes
Bake Time: 10–12 Minutes
Ingredients
- 1 cup (226g) unsalted butter, softened
- ½ cup (120g) sourdough discard
- ½ cup (100g) granulated sugar
- 2 cups (250g) all-purpose flour
Optional Add-Ins:
- 1 teaspoon vanilla extract
- Lemon zest
- Orange zest
- Cinnamon
- Mini chocolate chips
- Sprinkles
- Sanding sugar
Instructions
Step 1: Prepare Oven
- Preheat oven to 350°F (175°C).
- Line two baking trays with parchment paper.
Step 2: Cream Butter and Sugar
- In a large mixing bowl, beat softened butter and sugar until pale, light, and fluffy (about 2–3 minutes).
Step 3: Add Sourdough Discard
- Mix in the sourdough discard until smooth and fully combined.
Step 4: Add Flour
- Gradually add the flour and mix until a soft dough forms.
- Do not overmix.
Step 5: Chill Dough
- Cover and refrigerate for 30 minutes.
Step 6: Shape Cookies
- Roll dough into 1-tablespoon-sized balls.
- Place on prepared baking sheets about 2 inches apart.
Step 7: Flatten
- Gently flatten each ball with a fork or the bottom of a glass.
Step 8: Bake
- Bake for 10–12 minutes or until the edges are lightly golden.
Step 9: Cool
- Let cookies cool on the tray for 5 minutes.
- Transfer to a wire rack and cool completely.
Storage
- Room Temperature: Up to 1 week in an airtight container.
- Freezer: Up to 3 months.
Approximate Nutrition (Per Cookie)
- Calories: 120
- Carbohydrates: 14g
- Protein: 1g
- Fat: 7g
- Sugar: 4g
- Fiber: 0.5g