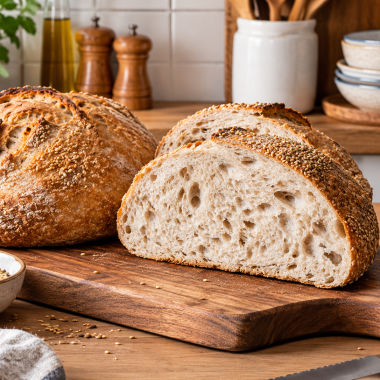
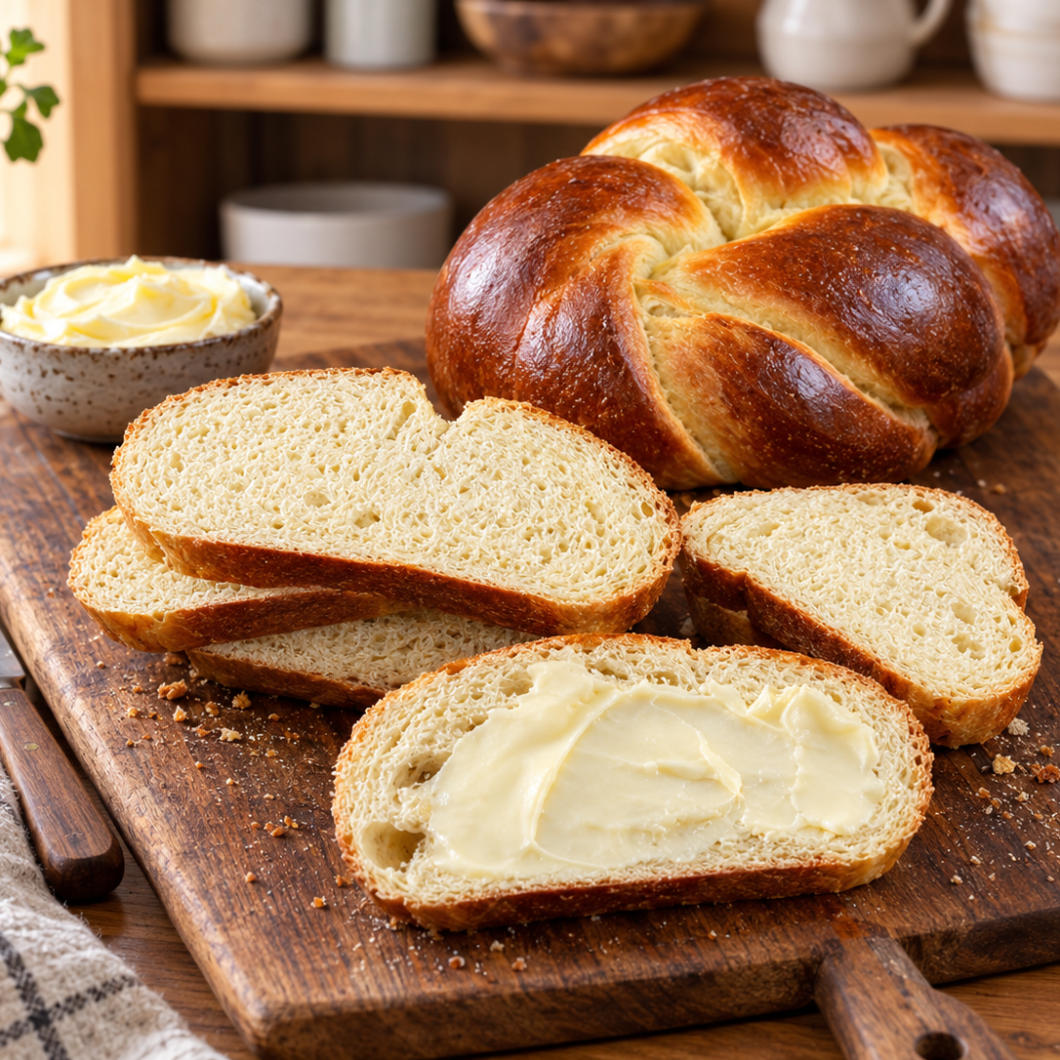
Sourdough challah bread brings together the traditional beauty of braided challah with the distinctive flavor and texture created by natural sourdough fermentation. The finished loaf has a soft, tender interior, a lightly sweet taste, and a beautiful golden crust that makes it especially attractive when placed on the dinner table.
Although the dough needs several hours to ferment and rise, most of the process is simple and straightforward, making this an excellent weekend baking project.
This homemade sourdough challah is made with an active sourdough starter, eggs, sugar or honey, light oil, bread flour, water, and salt. The ingredients create a rich dough that is easy to shape once properly developed. After the first long fermentation, the dough is divided into three pieces, rolled into ropes, and braided before receiving a final rise. An egg wash gives the finished bread its glossy golden appearance.
What Makes Sourdough Challah Special?
Traditional challah is known for its enriched dough and decorative braiding, while sourdough challah adds natural fermentation to the process. The sourdough starter contributes flavor and helps create a pleasant texture without relying on commercial yeast. Because the dough ferments slowly, the finished loaf develops a subtle depth that works beautifully with its natural sweetness.
The long fermentation also makes this recipe convenient for overnight baking. You can prepare the dough in the evening, leave it to rise while you sleep, and shape the loaf the next morning. This approach spreads the work over two days without requiring complicated baking techniques. Once the dough has completed its first rise, the remaining preparation is relatively quick.
Why You Will Love This Homemade Challah
One of the best features of sourdough challah is its combination of appearance and texture. The three-strand braid creates a classic shape with an attractive golden surface, while the inside remains soft and tender. The slight sweetness from sugar or honey pairs naturally with the rich flavor of eggs and the mild taste of oil.
This bread is also versatile enough for many occasions. Serve slices alongside a family dinner, add it to a holiday table, or enjoy it as part of breakfast. Because the loaf is enriched and gently sweet, it can be eaten with butter, jam, honey, or other favorite toppings. Its soft crumb also makes it particularly useful for recipes that require substantial slices of bread.
How to Prepare the Sourdough Starter
An active sourdough starter is important for this recipe because the dough depends on natural fermentation. Feed the starter approximately four to twelve hours before mixing the dough. A healthy starter should become bubbly and active after feeding. It should show visible signs of fermentation rather than remaining dense and inactive.
Timing can vary depending on room temperature, starter strength, and feeding routine. If your starter becomes active more quickly in a warm kitchen, you may be ready to use it sooner. In a cooler environment, it can take longer. The important point is to use an active, bubbly starter rather than one that has been sitting inactive for an extended period.
How to Make Sourdough Challah Dough
Begin by combining the active sourdough starter with water, sugar or honey, light oil, eggs, salt, and two cups of bread flour in the bowl of a stand mixer. Mix the ingredients until they are evenly combined. Working with the ingredients gradually helps create a dough that develops a consistent texture without adding all of the flour at once.
Continue mixing for about five minutes, then gradually add the remaining flour. You may not need every bit of the flour, depending on the flour brand, protein level, humidity, and other conditions in your kitchen. Continue mixing for another five minutes until the dough becomes smooth and cohesive.
The finished dough should be soft and workable rather than extremely sticky. It should be capable of holding its shape when formed into a ball. If it feels unusually wet and cannot maintain its structure, add a little more flour as needed. Flour absorbs water differently depending on its type and brand, so judging the dough’s texture is more useful than relying on a measurement alone.
The First Rise and Overnight Fermentation
After mixing, transfer the dough to a ceramic or glass bowl. Cover the bowl with plastic wrap, a damp towel, or a suitable lid. Leave it at room temperature for approximately twelve to eighteen hours, allowing enough time for the sourdough fermentation to develop.
The exact rising time depends on the temperature of the room and the activity of the starter. Instead of focusing only on the clock, look at the dough. It should increase substantially in volume and roughly double in size. A properly fermented dough should appear noticeably expanded and ready for shaping.
This long first rise is one of the defining characteristics of the recipe. It gives the sourdough time to work gradually while allowing you to prepare the dough ahead of time. An overnight fermentation is particularly convenient because the dough can be mixed before bed and shaped the following morning.
Dividing and Shaping the Dough
Once the first rise is complete, gently remove the dough from the bowl and divide it into three equal portions. Try to handle the dough carefully while shaping so that you do not unnecessarily compress it.
Roll each portion into a long rope measuring approximately eighteen inches. Aim for similar thickness across the three ropes so the finished braid looks balanced. The ropes do not have to be perfectly identical, but keeping them reasonably even will help create a more uniform loaf.
Place the three ropes next to each other on your work surface and pinch their ends together. This creates the starting point for the braid. Take your time as you work through the three strands, crossing them over one another until the entire loaf has been braided.
How to Braid Challah
A three-strand challah braid is one of the easiest traditional braiding methods to learn. Once the strands are positioned beside one another, braid them together from one end toward the other. Try not to pull the strands too tightly because the dough still needs room to expand during the final rise.
When you reach the end, pinch the strands together and tuck the loose ends underneath the loaf. Tucking the ends helps create a neat appearance and prevents the braid from coming apart during baking. Do not worry if the braid initially appears slightly loose. As the dough rises, it will expand and naturally fill some of the spaces.
The Second Rise
Transfer the shaped challah to a lined or greased baking sheet. Cover it gently with a clean towel and let it rise for approximately one hour. This second rise gives the shaped dough time to become lighter and more expanded before it enters the oven.
Avoid rushing this stage. The final rise contributes to the texture of the finished bread, and the dough should look visibly fuller before baking. At the same time, you do not want to rely solely on a fixed time because room temperature can affect fermentation. Watch the dough as it rises and adjust the timing when necessary.
Preparing the Egg Wash
The egg wash is responsible for much of the beautiful color and shine associated with challah. Whisk one large egg together with one tablespoon of water in a small bowl. Once the loaf has completed its second rise, brush the mixture gently across the entire surface.
Cover the visible dough evenly, including the raised sections of the braid. The egg wash helps the surface develop a rich golden-brown finish during baking. Apply it carefully so that you do not press down on the risen dough or disturb the braid.
Baking Sourdough Challah
Preheat the oven to 425°F (220°C). Once the oven has reached the correct temperature and the challah has been brushed with egg wash, place the baking sheet inside and bake for approximately thirty to thirty-five minutes.
Keep an eye on the surface as the loaf bakes. Challah can develop color fairly quickly because of the egg wash. If the top becomes brown before the bread has finished baking, loosely cover it with aluminum foil. This protects the surface from excessive browning while allowing the loaf to continue baking.
The finished challah should have a beautiful golden exterior and a fully baked interior. Allow it to cool slightly before slicing. Cutting into very hot bread can compress the tender crumb, so giving the loaf a little time to settle will help you achieve cleaner slices.
Tips for Better Sourdough Challah
Bread flour is recommended because its higher protein content helps create a stronger dough that can support the braided structure. If bread flour is unavailable, all-purpose flour can be used instead. The dough may be somewhat softer and may not hold its shape quite as firmly, but careful handling can still produce a beautiful loaf.
Pay attention to dough consistency rather than automatically adding all the flour listed in the recipe. Flour brands differ in protein content and absorption, and kitchen humidity can also affect the dough. The ideal dough should feel soft but should not be excessively sticky. If it cannot hold its shape, add additional flour gradually until the desired consistency is reached.
When braiding, work gently and avoid pulling the dough ropes too tightly. The dough will continue to expand during the second rise and baking. A braid that appears slightly open before rising can become beautifully full after fermentation. Keeping the strands reasonably even will help produce a more symmetrical finished loaf.
Serving Ideas for Sourdough Challah
Fresh sourdough challah can be served as part of breakfast, lunch, dinner, or a special celebration. Its slightly sweet flavor makes it excellent with butter, honey, fruit preserves, or other breakfast toppings. It can also be placed in the center of a dinner table where guests can tear or slice pieces as needed.
One of the biggest advantages of making a large loaf is having leftovers for other recipes. Day-old challah is especially useful for French toast because its rich, tender crumb absorbs the egg mixture while remaining substantial enough to hold together. It can also be transformed into bread pudding or cut into pieces and baked into homemade croutons.
Storage and Leftover Ideas
Allow the loaf to cool before storing it. Keeping the bread properly covered helps maintain its softness and prevents unnecessary moisture loss. If you have more challah than you can eat within a short period, consider slicing the remaining bread before freezing it so individual portions can be removed when needed.
Leftover slices are ideal for breakfast recipes and baked dishes. Slightly older challah can actually be useful because it absorbs liquids more readily than extremely fresh bread. This makes it an excellent choice for French toast, bread pudding, and similar recipes where the bread needs to absorb a flavorful mixture.
Fluffy Sourdough Challah Bread
 Recipe by admin1
A soft, slightly sweet braided sourdough challah made with an active sourdough starter, eggs, sugar or honey, light oil, and bread flour.
1
servings30
minutes30
minutes13
hours14
hoursIngredients
- For the Bread Dough
1 cup active bubbly sourdough starter (200 grams)
1/2 cup water (110 grams)
⅓ cup sugar (88 grams) or honey
⅓ cup light oil, such as avocado or canola (88 grams)
3 large eggs
2 teaspoons salt (12 grams)
3 1/2 cups bread flour (540 grams)
- For the Egg Wash
1 large egg
1 tablespoon water
Directions
- Feed the sourdough starter approximately 4–12 hours before preparing the dough. Use it when it is active, bubbly, and ready for baking.
- The evening before baking, place the active sourdough starter, water, sugar or honey, oil, eggs, salt, and 2 cups of bread flour into the bowl of a stand mixer. Mix until the ingredients are thoroughly combined.
- Continue mixing for about 5 minutes. Add the remaining flour gradually, stopping when the dough becomes smooth and workable. You may not need every bit of the flour. Mix for another 5 minutes.
- Transfer the dough to a ceramic or glass bowl. Cover it with plastic wrap, a damp towel, or a lid. Leave it at room temperature for approximately 12–18 hours, or until it has roughly doubled in size.
- The following morning, gently remove the risen dough and divide it into 3 equal portions.
- Roll each portion into a long rope approximately 18 inches in length.
- Place the three ropes side by side. Pinch their ends together, braid the strands, and then tuck the loose ends underneath the loaf.
- Place the braided loaf on a lined or greased baking sheet. Cover it with a clean towel and allow it to rise for approximately 1 hour.
- Heat the oven to 425°F (220°C).
- Beat the egg and water together in a small bowl. Brush the mixture evenly over the entire surface of the risen challah.
- Bake for 30–35 minutes, or until the loaf develops a rich golden-brown color. If the top begins browning too quickly, loosely tent the loaf with aluminum foil.
- Remove the challah from the oven and allow it to cool slightly before slicing and serving.
Notes
- Bread flour can be replaced with all-purpose flour if necessary. The dough may be softer and may not maintain the braided shape as firmly.
- Avoid braiding the dough too tightly. The loaf will continue expanding during the second rise and while baking.
- The dough should feel soft and smooth rather than excessively sticky. If it cannot hold its shape, add a little more flour as needed.
- Flour absorption varies by brand, protein content, and kitchen conditions, so dough texture is a better guide than blindly adding every gram of flour.
- An active, bubbly sourdough starter is essential for proper fermentation and rise.
- Leftover challah is excellent for French toast, bread pudding, and homemade croutons.